Using an IR Remote and sensor with an Arduino
- Brainy-Bits

- Oct 22, 2020
- 2 min read
Updated: Oct 28, 2020
OVERVIEW
Using an IR Remote is a great way to have wireless control of your Arduino project.
Infrared remotes are simple and easy to use.
In this tutorial we will be connecting the IR receiver to the UNO, and then use a Library that was designed for this particular sensor.
In our sketch we will have all the IR Hexadecimal codes that are available on this remote, we will also detect if the code was recognized and also if we are holding down a key.
PARTS USED
Arduino UNO
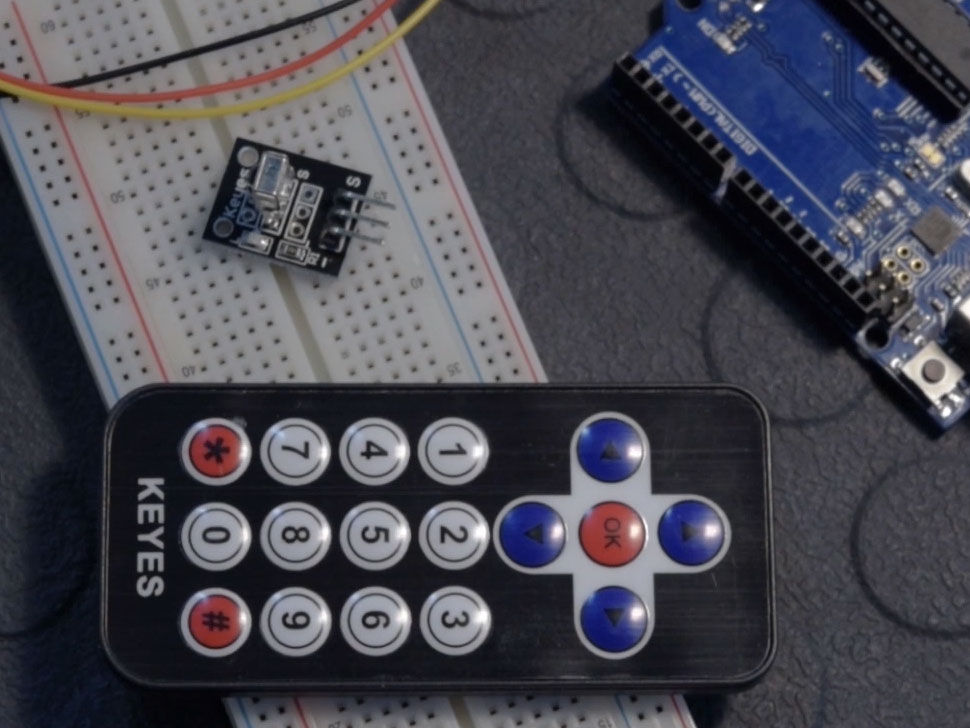
IR Remote with receiver
Breadboard
These are Amazon affiliate links...
They don't cost you anything and it helps me keep the lights on
if you buy something on Amazon. Thank you!
CONNECTIONS
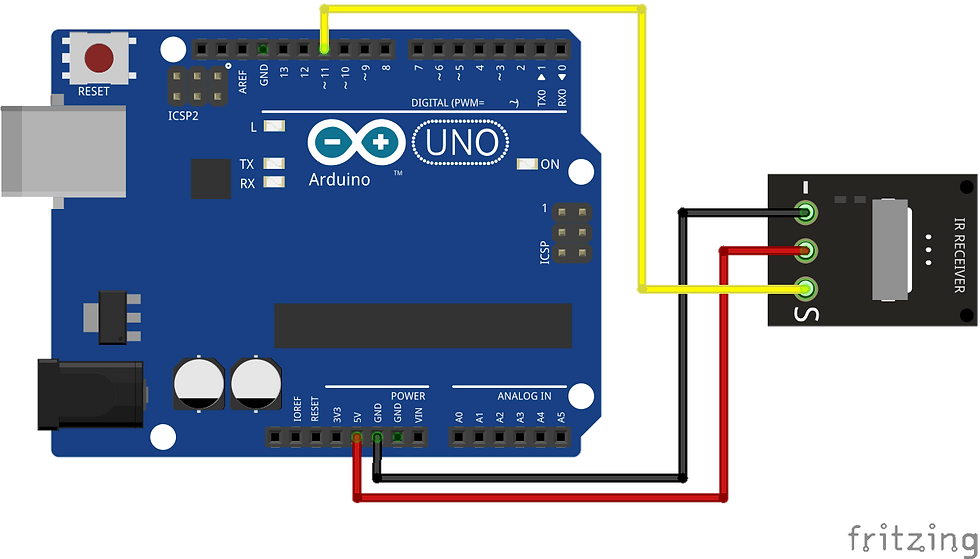
There are 3 connections to the IR Receiver.
The connections are : Signal, Voltage and Ground.
The “-” is the Ground, “S” is signal, and middle pin is Voltage 5V.
THE CODE
First download the Library (link below) and extract it to your “Library” folder inside your IDE software, it should be named “IRremote”
Next we will move the “RobotIRremote” out of the Library folder, we do this because that library conflicts with the one we will be using.
You can just drag it back inside the library folder once you are done programming your microcontroller.
Once you have installed the Library, just go ahead and restart your IDE Software.
You can watch our Tutorial video to get more information.
#include "IRremote.h"

int receiver = 11; // Signal Pin of IR receiver to Arduino Digital Pin 11

/*-----( Declare objects )-----*/
IRrecv irrecv(receiver);     // create instance of 'irrecv'
decode_results results;      // create instance of 'decode_results'

void setup()   /*----( SETUP: RUNS ONCE )----*/
{
  Serial.begin(9600);
  Serial.println("IR Receiver Button Decode");
  irrecv.enableIRIn(); // Start the receiver

}/*--(end setup )---*/


void loop()   /*----( LOOP: RUNS CONSTANTLY )----*/
{
  if (irrecv.decode(&results)) // have we received an IR signal?

  {
    translateIR();
    irrecv.resume(); // receive the next value
  }
}/* --(end main loop )-- */

/*-----( Function )-----*/
void translateIR() // takes action based on IR code received

// describing Remote IR codes

{

  switch(results.value)

  {

  case 0xFF629D: Serial.println(" FORWARD"); break;
  case 0xFF22DD: Serial.println(" LEFT");    break;
  case 0xFF02FD: Serial.println(" -OK-");    break;
  case 0xFFC23D: Serial.println(" RIGHT");   break;
  case 0xFFA857: Serial.println(" REVERSE"); break;
  case 0xFF6897: Serial.println(" 1");    break;
  case 0xFF9867: Serial.println(" 2");    break;
  case 0xFFB04F: Serial.println(" 3");    break;
  case 0xFF30CF: Serial.println(" 4");    break;
  case 0xFF18E7: Serial.println(" 5");    break;
  case 0xFF7A85: Serial.println(" 6");    break;
  case 0xFF10EF: Serial.println(" 7");    break;
  case 0xFF38C7: Serial.println(" 8");    break;
  case 0xFF5AA5: Serial.println(" 9");    break;
  case 0xFF42BD: Serial.println(" *");    break;
  case 0xFF4AB5: Serial.println(" 0");    break;
  case 0xFF52AD: Serial.println(" #");    break;
  case 0xFFFFFFFF: Serial.println(" REPEAT");break;

  default:
    Serial.println(" other button   ");

  }// End Case

  delay(500); // Do not get immediate repeat


}
TUTORIAL VIDEO
DOWNLOAD
Copy and paste the above code in the Arduino IDE to program your Arduino.
Used Libraries:
Download the IRremote created by Ken Shirriff here:
Once downloaded, just extract the content of the zip files inside your “arduino/libraries” folder.


Comments